Last Updated:July 12, 2026
How to Convert Your Sunroom to the Perfect Recording Studio
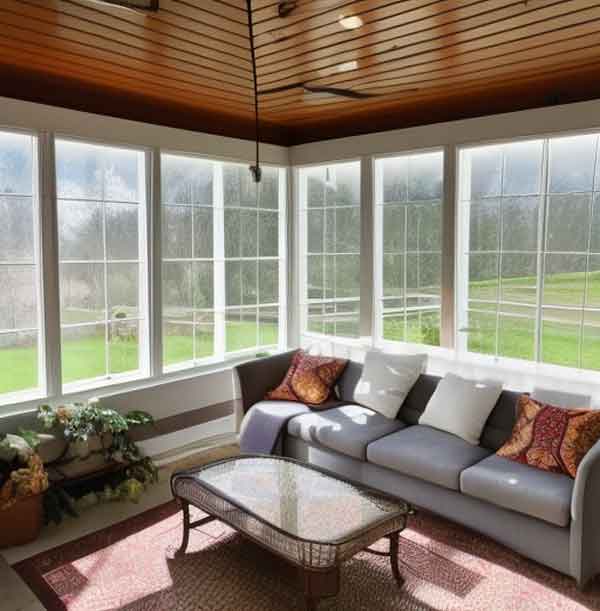
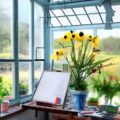
Are you looking for a peaceful space to record your podcasts or YouTube videos? Look no further than your sunroom! With its large windows and bright, airy atmosphere, a sunroom can make the perfect location for a recording studio. In this guide, we’ll take you through the steps of converting your sunroom into a high-quality recording space for all your audio and video needs.
Assessing the Space
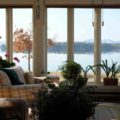
The first step in converting your sunroom into a recording studio is to assess the space. This will help you identify potential acoustic issues and find solutions. Start by evaluating the size and shape of the room. Consider the materials used in its construction, such as the walls, ceiling, and flooring. If the walls are made of glass, they may produce unwanted reflections and echoes.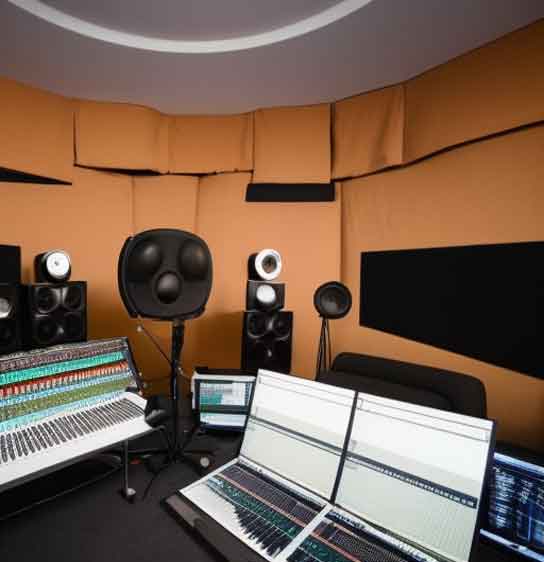
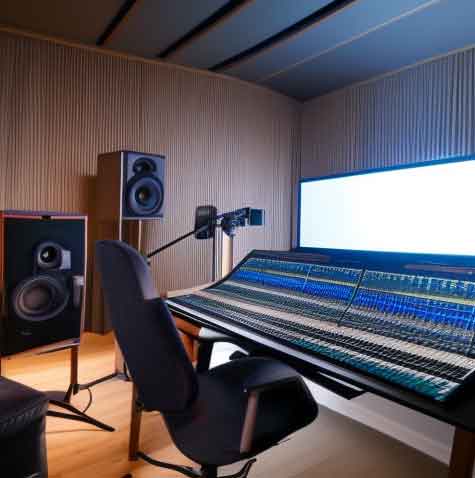
To remedy acoustic issues, add sound-absorbing panels and other acoustic treatments to the room. You can purchase these online or make them yourself using materials like foam or fiberglass. Additionally, you may want to invest in a few rugs or thick curtains to absorb any remaining sound. Once you’ve added these acoustic treatments, you should notice a significant improvement in sound quality.
Choosing the Right Equipment
Choosing the right equipment is critical to achieving high-quality sound in your recordings. When selecting microphones, you should consider your budget, the type of content you’re producing, and the acoustics of your space. For podcasts or voiceovers, a dynamic microphone like the Shure SM7B (link) is a popular choice. For music recordings, you may want to invest in a large-diaphragm condenser microphone like the AKG C414. (link)If you are more on a budget, then you may look at the blue Yeti condenser microphone. (link) This is what I’ve been using for years, and I love it. I have a shock mount arm so that it floats above my desk.
Next, you’ll need to choose the right recording software and interface. Popular choices for recording software include Audacity, Adobe Audition, and Logic Pro X. For an interface, you can consider options like the Focusrite Scarlett 2i2 or the Universal Audio Apollo Twin.
If you are on a budget, OBS is free software that can record both audio and video. One of the best tips is to do post-processing of which I strongly suggest using the free adobe product to enhance your voice. You simply need to upload an mp3 file, and it will significantly improve the overall quality. It will even out the levels and eliminate most of the background noise. I use this for all my videos.
You’ll need speakers or headphones for monitoring audio. Studio monitors are great choices for accurate audio reproduction. Alternatively, if you prefer headphones, the Sony MDR-7506 or the Audio-Technica ATH-M50x are excellent options.
If you are more on a budget, I have been using a $20 set of sony headphones for years. This is my second set as I bought my first pair in 2011 and dropped them so many times they were held together with duct tape.
After several people in my videos commented on my headphones, I chose to replace them even though they were still completely functional. If you are creating music or something very technical then the high-quality headphones may be worth the cost to you; however, I also want to be transparent that this isn’t where I’d suggest splurging when it comes to creating a sound studio in your home.
Setting Up the Recording Space
Once you’ve selected your equipment, it’s time to set up the recording space. Start by identifying the best location for your recording equipment. This will depend on the layout of your room and the placement of your sound-absorbing panels. Once you’ve chosen the location for your equipment, arrange furniture and decor to optimize sound quality. For example, bookshelves or a large couch can absorb sound and reduce unwanted echoes.Soundproofing the Space
To reduce outside noise, it’s essential to soundproof your sunroom. If your windows are not already double-paned, consider adding pane of glass to soundproof them. You can also use acoustic curtains or blankets to cover windows and doors. For added insulation, use weatherstripping to seal any gaps around doors and windows.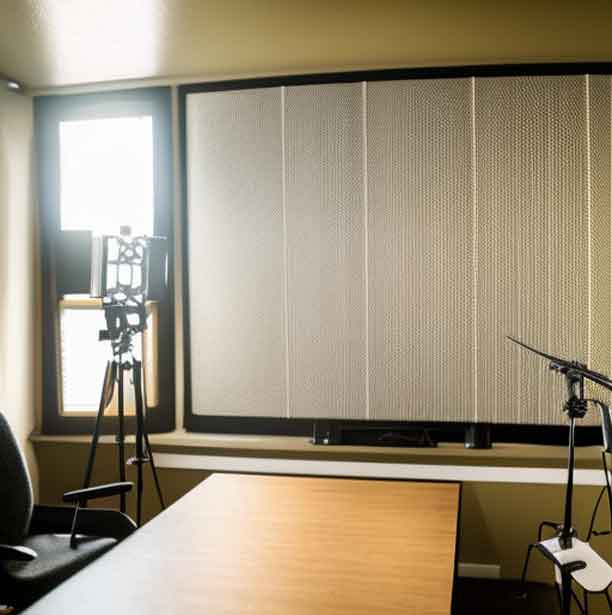
Acoustic curtains are an amazing option if you have them; however, when I started I used some moving blankets that I picked up from Harbor Freight. The heavy fabric is perfect for dampening the sound so that it doesn’t reverb back. If you have a little more money to spend, sound proof panels make a huge difference. Here’s a link to our favorite soundproof panels on Amazon.
Optimizing Sound Quality
To achieve the best possible sound quality in your recordings, it’s important to optimize your audio settings. Use equalization to balance audio frequencies and adjust microphone placement for optimal sound quality. You can also fine-tune your audio settings to eliminate unwanted background noise. This will ensure that your recordings sound professional and polished.Tips for Optimizing Sound Quality
There are a few additional steps you can take to optimize the sound quality in your sunroom recording studio.One of the best things you can do to improve the sound quality of your recordings is to record in a quiet environment. While soundproofing can help reduce outside noise, there are still some sounds that can be difficult to eliminate. Consider recording during times of the day when there is less outside noise. Additionally, you may want to consider using a noise gate plugin to eliminate any remaining background noise.
Another tip for optimizing sound quality is to make sure your microphone is properly positioned. A good rule of thumb is to position the microphone about six inches away from your mouth, with the capsule pointing directly at your mouth. This will help ensure that your voice is captured clearly and accurately.
You may also consider using a pop filter to eliminate any pops or plosives that can occur when recording vocals. A pop filter is a simple screen that attaches to your microphone and blocks the bursts of air that occur when saying certain sounds.
Using Your Sunroom Recording Studio for Video
While a sunroom recording studio is ideal for recording high-quality audio, it can also be used for video. If you plan on recording video content in your sunroom studio, consider investing in some additional equipment.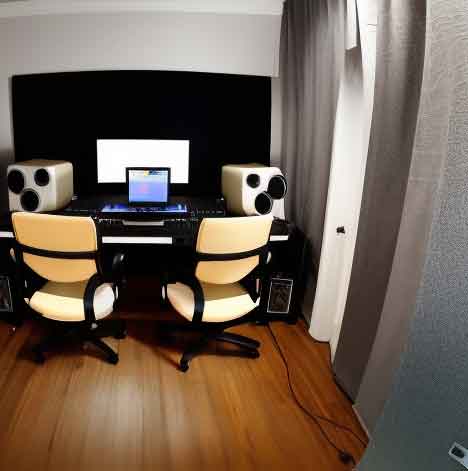
For starters, you’ll want to use a high-quality camera that can capture clear, high-definition video. You may also want to invest in some lighting equipment to ensure that your video is well-lit and looks professional.
When setting up your video equipment, make sure to position your camera in a way that allows for a clear shot of you or your subject. Additionally, be mindful of the background in your shots. A simple, uncluttered background can help ensure that your video looks polished and professional.
Conclusion
Converting your sunroom into a recording studio is an excellent way to create a peaceful, distraction-free space for recording your podcasts or YouTube videos. By following the steps outlined in this guide, you can optimize your space, choose the right equipment, and achieve high-quality sound and video in your recordings.Whether you’re just starting out or you’re a seasoned podcaster or video creator, a sunroom recording studio is a great investment that can help take your content to the next level. With a little effort and some quality equipment, you can create a studio that will inspire your creativity and help you produce professional, high-quality recordings. We’ve also written a complete overview to sunrooms if you’re considering adding one to your home.