

Last Updated:July 12, 2026
The Ultimate Guide to Flashing on a Metal Roof
A Comprehensive Guide to Flashing on Metal Roofs
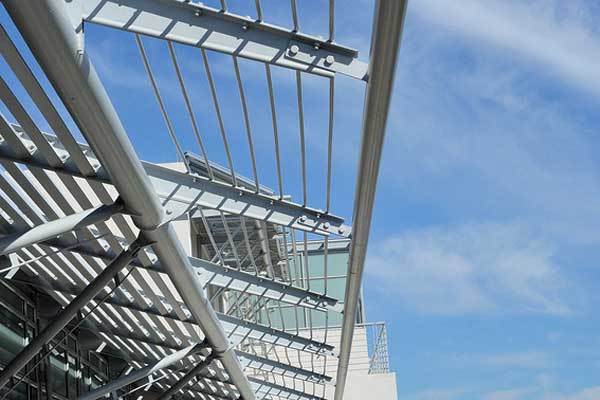
Flashing on metal roofs is crucial for your home’s protection. This comprehensive guide will lead you through the process of metal roof flashing installation, whether on a wall or deck. Flashing on a metal roof is designed to prevent leakages and ensure the roof’s longevity. The roof flashings -usually made of tin sheets- are an integral part of any metal roofing system. They not only guard the house from external elements but also aesthetically enhance it. In the world of metal roofing, flashings are often overlooked, but truth be told, they’re the back of your roofing system. They are strategically fitted to cover gaps or joints on the roof, especially where it meets the wall. The correct method to install flashing makes all the difference. So it’s essential to get a complete understanding of how to flash, how to install wall flashing, and how to maintain the flashing post-installation. With this guide, you’re set to elevate your home’s metal roofing game.
Metal Roof Flashing: Why It’s Critical
Our comprehensive guide wouldn’t be complete without underlining the critical nature of metal roof flashing. A metal roof needs appropriate flashing to safeguard it against harsh weather, as water poses a significant threat to any roof structure. Properly installed flashing on a metal roof is designed to direct water away, averting potential damage and preserving the integrity of your roof for longer. Key areas to pay attention to include wall flashing. Here, the transition between the roof and wall needs meticulous care to prevent water intrusion. With various materials available, you might find it daunting to do this task on your own. This is where availing of professional services can be invaluable. Experts in metal roof flashing can ensure your roof and walls provide superior protection against all elements. Trust their expertise to handle this critical aspect of your metal roofing project.
Step-by-Step Guide: Prepping for Flashing Installation on a Metal Roof
Installing flashing on a metal roof requires meticulous preparation. This guide will share a step-by-step process to help you through your installation. Let’s begin by prepping the area for your flashing install. Firstly, thoroughly cleanse the metal roof surface where the flashing will be added. Remember, water and debris can impede correct installation, affecting the final result. Keep in mind, flashing is a critical component of roofing, especially for metal roofs, as it protects your home from water intrusion. Following a guide can help ensure a successful installation.
Now, onto the next step. Mark the spot where you intend to install the flashings. While position may vary based on your roof’s design, flashings most often go around intersections and joints. It’s important therefore to study your metal roofing layout before proceeding. With these steps, you will be well on your way to completing your flashing installation on your metal roof. Don’t skip any step in this guide—each plays a vital role in protecting your home.
Trim and Panel Selection for the Perfect Flashing
The proper selection of trim and panels is the first step towards perfect flashing. Forms of trim that’s made for panel flashing can help create a seamless look on your home’s exterior. While there’re different materials available, choosing tin panels or sheet panels provide the best results. The perfect flashing is achieved by trimming and aligning these panels onto your roof’s surface. To integrate the siding, ensure to install the trim and panel between the siding and the shingle, creating an impenetrable barrier.
While panel selection and trim can be complex, by installing the correct trim and panel, these installations can extend the life of your roofing and give you peace of mind. Getting the selection right on your first go is crucial for avoiding the need to re-install. Besides, a perfect trim and panel offer an aesthetically appealing look to your home. So, remember that the right trim, along with the correct panel selection, can make a tremendous difference to your metal roof flashing. Importantly, trim selection should be done keeping in mind the rest of the siding for a uniform and perfect result.
Paving the Way: Installing Flashing for Metal Roofing
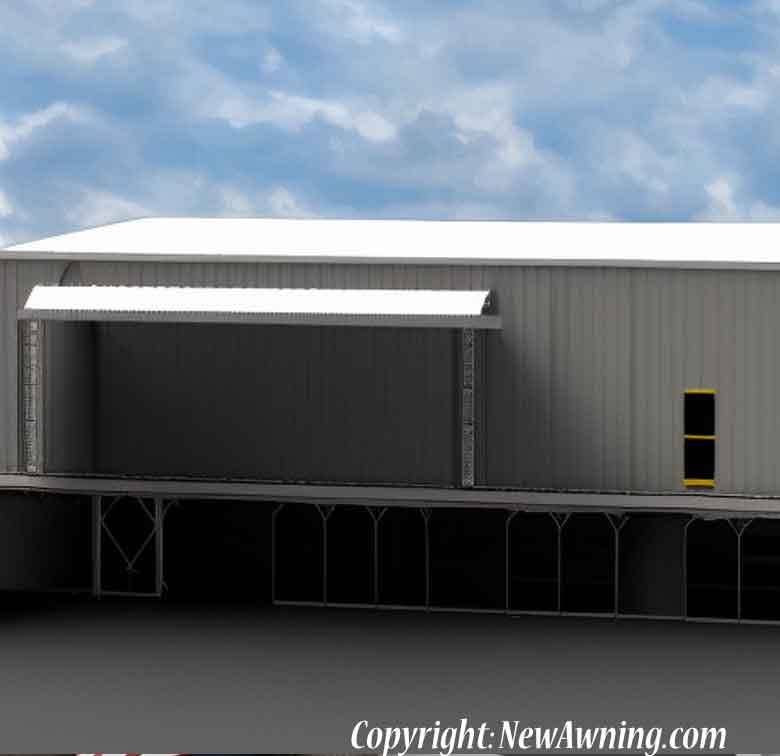
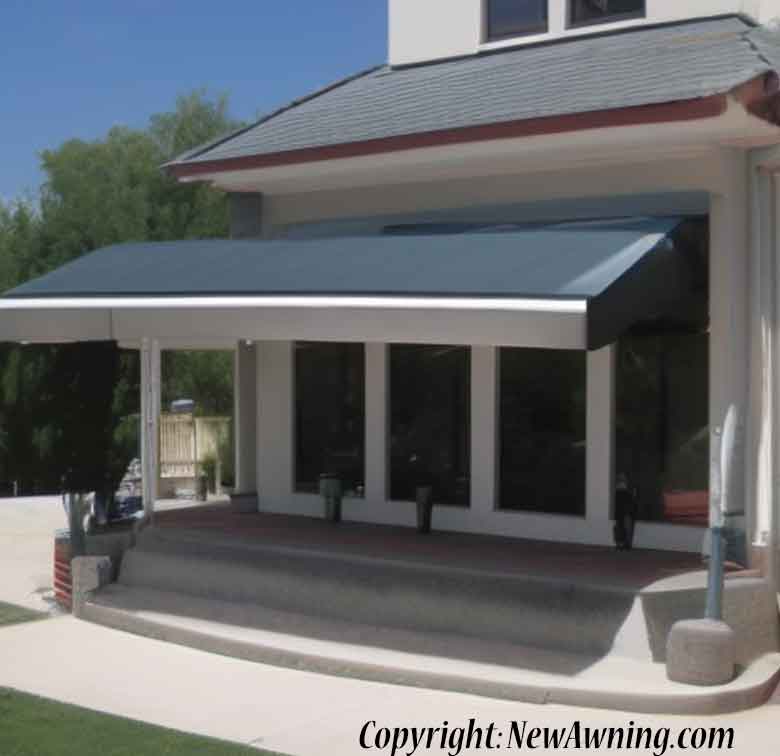
If you’re paving the way for home improvements and considering installing flashing on your metal roofing, this section will guide you through. First-round of any roof installation is understanding the importance of flashing. It’s not just about making your roof look aesthetically pleasing; it’s crucial for keeping your home safe from water leaks. When you install flashing correctly, it creates a watertight barrier where the roof meets the chimney, vents, or other protruding features providing an extra layer of protection. Whether you’re installing on a deck or in your back patio, flashing ensures the longevity of your metal roofing. Let’s delve into the steps of a flashing installation on your roof deck. Prioritize the quality of your metal materials, be it for the roof deck, trim, or panels you’ll need for the installation. Remember, installing flashing is not just about a one-time effort; this is about safeguarding your home- paving the way for long-term peace of mind.
Eave Trim Installation: The First Step Towards a Watertight Metal Roof
The first step in creating a watertight metal roof is eave trim installation. This crucial step sets the stage for the rest of the roof installation process. It’s all about making sure that no water can seep into your home, causing deck dampening or rust. The trim itself, when installed properly, works to channel water from the roof, confidently directing it away, all the way back to the ground. Thus, making sure the trim is installed correctly is paramount to maintaining a water and watertight home. To ensure maximum water protection, back to back trim installation should be considered as each step is vital to the overall effectiveness of the metal roof. By taking this first step of installing the trim carefully and attentively, you pave the way for the rest of the roofing process. With this in place, your metal roof is already on its way to being a robust, watertight barrier for your home.
Roof Flashings 101: Mastering the Technique
When it comes to roof flashings, knowing your 101 is crucial. Mastering this technique could make all the difference on your roof’s longevity and durability. Installing flashing around corners, chimneys, and other roof elements is not as simple as nailing a panel on deck. There’s more finesse involved. Techniques for creating a watertight barrier vary based on the roof’s design, and mastering the proper technique can prevent unwelcome water seepage and costly leaks. Flashing installation requires patience and precision to ensure a watertight seal. The detailed process begins with prepping the roof for installation, then selecting the correct trim, panels, and tools. Believe it or not, the flash component is critical to roofing success. With every step, from eave trim installation at the beginning to the final flash back at the end, consider this your 101 guide to mastering the technique of roof flashings.
Troubleshooting Common Flashing Issues and Remedial Measures
While we’ve covered topics including, ‘Metal Roof Flashing: Why It’s Critical’, and ‘Roof Flashings 101: Mastering the Technique’, troubleshooting common flashing issues is a critical aspect of maintaining your metal roof’s functionality. Flashing issues can lead to extensive damage, and utilizing remedial measures promptly helps avoid it. In our guide, you’ll stumble upon numerous services aimed to help you find faults in your roof flashing. We further delve into roof installation problems and common issues that might arise, with an emphasis on the deck and back areas. Not just this, we’ll also equip you with the knowledge to promptly identify these issues so that you can take immediate action.
To ensure robustness, we suggest availing professional roof flashing services. These services can identify and tackle any issue your roof may have, from a faulty installation to wear and tear over time. By doing so, your roof and flashing will continue to provide the ultimate protection for your home.
A Closer Look at Flashing Materials and their Applications
Here’s a closer look at flashing materials and their applications to broaden your knowledge on this topic. Flashing materials placed strategically on your home’s roof, particularly where the roof meets a wall or around the deck, serve the vital role of directing water away from crucial areas. There are diverse material choices, each geared towards a distinct kind of roofing requirement. For instance, tin roofs often pair well with certain types of flashing, thanks to their unique characteristics. Flashings can be made of a wide array of materials, selected based on factors like roof type, climatic conditions, or style preferences. Understanding the material used in your flashing will help guide the installation process on a metal roof. Whether you’re working with sheets or other forms, the material’s properties will also affect the roof’s overall performance. So, pay close attention to these materials during roof installation and ensure they’re incorporated correctly for an optimal roofing solution.
Decoding Flashing Sizes and Roof Flashing Types
In any home, the roof plays a critical role, and installing flashing is an essential part of maintaining your roof’s health. Decoding flashing sizes and types of roof flashing is a vital aspect of flashing installation. By understanding these, you can make more informed decisions and potentially save on back-breaking labours and unnecessary costs.
Roof flashing serves as a deck against elements like water that could inflict damage. Flashing comes in various sizes and types to suit different parts of the roof and the wall. Notably, the roof flashing type you choose will greatly affect the performance and longevity of your metal roofing.
So, step back and make the right flashing choices for your roof. After all, the overall comfort and safety of your home depend on it. Taking adequate time to learn about flashing for your roof equips you with the knowledge to produce a leak-free roof.
DIY Project: How to Repair Metal Roof Flashing
Embarking on a DIY project can be both challenging and rewarding, and learning how to repair your very own metal roof flashing is no exception. Our guide, set in the backdrop of a cozy home with a metal roof, aims to handhold you through this process. Like a maestro of roofing, you’ll learn how to deftly replace old, dilapidated flashings with new ones on various types of roofs, including tin and metal sheets.
Detecting issues lurking in your roof’s nooks and crannies, and carrying out roof flashing repairs can literally save your home from ruin. From facilitating proper installation of effective flashing on vulnerable wall intersections to doing regular roof check-ups, this guide is designed to make your roofing journey a breeze. Don’t forget to revisit previous sections for a deeper understanding of the entire process.
Flash Forward: Maintaining your Metal Roofing for the Long Run
When it comes to maintaining your metal roofing over the long run, you have to think flash forward. This guide will shepherd you through the essentials of ensuring your roof’s longevity by focusing on its flashings. An optimally functioning metal roofing system often banks on the quality and condition of its flashings. Whether it’s a roof wall, a tin roof, or a deck, proficient flashing installation is key. At the back of a good installation, is the nuanced selection of trim and panels to serve as sheets of defense against elemental onslaughts on your home.
This comprehensive tutorial on flashing on metal roofs outlines all these points and further offers solutions for troubleshooting common flashing problems. So, whether you’re just starting out, or need some remedial measures to counter existing issues, ‘Flash Forward: Maintaining your Metal Roofing for the Long Run’ is your go-to section of this guide. From understanding the different types of roof flashings to DIY projects on how to repair metal roof flashing – this is your one-stop digital tool.
The Ultimate FAQ: Unraveling the Mysteries of Roof Flashing
Now, we’re moving onto the ultimate FAQ section, a key part of our guide to flashing on metal roofs. Here, we’re unraveling the mysteries of roof flashing. First, let’s cover the roof’s basic structure. Your home’s roof is more than just shingles or metal panels. It’s an intricate system involving different parts, such as the deck and flashing. Flashing, in particular, serves an essential role in your metal roof installation. It’s placed around areas like your roof’s intersections and protrusions—essentially, where the roof meets a vertical wall or another part of the house. This is to prevent water from sneaking in the back door and causing damage. Despite its importance, the task of roof flashing often remains shrouded in mystery for many homeowners. By the end of this FAQ, you’ll understand everything about roof flashing from its installation to the best materials and sizes to use to successfully protect and prolong the life of your roof.
And there you have it, folks! With this Ultimate Guide to Flashing on a Metal Roof, you’re now well-equipped to embark on your flashing installation journey. Remember, practice makes perfect, so take your time and measure twice. Your metal roof will be watertight and looking spiffy in no time. If you’re intrested in sunrooms we have a full guide here.