
Last Updated:July 09, 2026
How to Remove a Metal Awning (Without Damaging Your House)
I remember the weekend that my father and uncle built the large metal awning on our back porch. It took all day Saturday, and then we hosted a family barbecue on Sunday with a great game of horseshoes after the activities.
While the awning stood for more than 20 years, we eventually decided to replace it. It was a bittersweet moment as we were putting up a nice new fabric awning, but we were saying good by to an old friend. So many of my childhood memories were spent underneath that awning on our back porch.
That being said, I wanted to share some of the steps that we took when we took down the metal awning. Before I dive into the details, I want to state that we are not contractors, and this does not constitute advice. I am merely sharing the details about how we took down our metal awning. If you have questions about your specific awning, porch or other shade structure, I strongly encourage you to hire a professional, licensed contractor in your area.
Clearing the Patio
Before we began a big project like this, we moved everything from the porch that was possible. We had a propane grill that could be super dangerous if something heavy landed on it. We also had some outdoor patio furniture. Additionally, there were a couple of rugs that we moved just to avoid them being a possible tripping hazard.
Finally, we had a large chest freezer. Our initial plan was to move it, but it proved far too heavy even for 4 adult men. Instead we chose to unplug the freezer, and then put some cushions from the patio furniture on top of the freezer. On top of the cushions, we placed a couple large sheets of plywood, and an old tarp. The idea was that if something did fall on top of the freezer the plywood would spread out the force and the pillows would soften the blow. Ultimately, we finished the whole project without anything falling on the freezer so I’m not sure if this would have truly worked or not. If you have an idea on how to protect a chest freezer, I’d love to hear from you in either the comments on this page or by sending us a message to our contact us page.
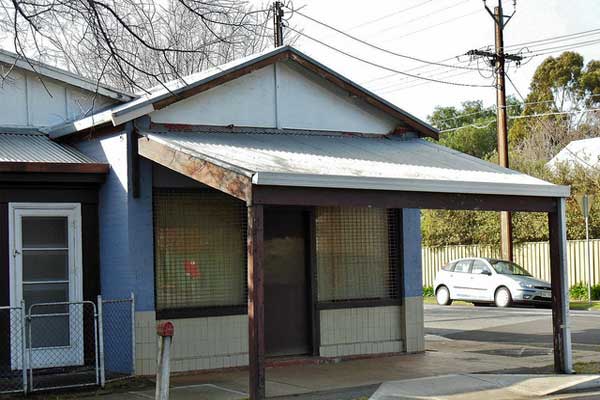
Removing the Panels
The patio had a wood frame with some metal plates for the roof. I don’t recall whether these were stainless steel or aluminum. In any case our approach would have been the same regardless which of the two metal plates was used. Each of the plate was held down with some screws into the wood rafters. We used our drill to unscrew the first couple of screws, and then with two left we tied a rope around each plate. This way we could lower it to the ground, and we didn’t risk all the weight snapping the screw.
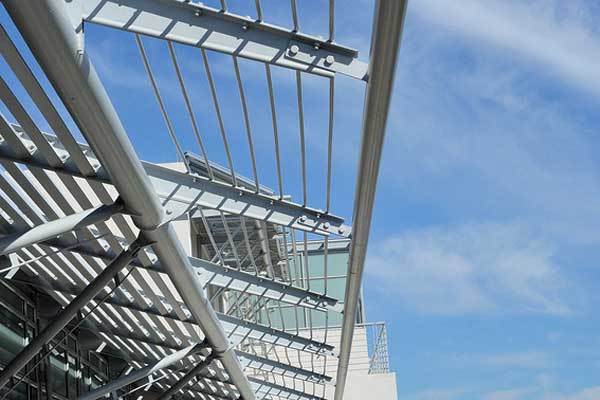
Taking down the Rafters
With all the metal roof panels removed, we next moved to removing the rafters. These are the cross beams that went between the house and the outer edge of the awning. This was a very easy process since it only meant removing the screws from the brackets that held each joist in place. We just had two people holding the beam up as the screws were removed, and they just sat the beam to the site once the brackets were removed. In retrospect, this wasn’t the safest method of we were holding the beam over our head, and thankfully it never slipped.
Once all the center rafters were removed, we had someone hold the support pole, and removed the left outside rafter. We then repeated these steps on the right side of the house, and finally took down the front beam and center rafter. This left us with the 3 support poles, and the support board attached to the home.
Tearing Out the Support Awning Poles
The three support poles were made of a 4×4 weather treated wooden beam. The lumber had been placed in a hole that was filled with concrete. We briefly discussed digging up the poles, but decided the easier approach is simply to use a saw on the support beams once all the load had been taken off them.
Ultimately, they decided to leave the concrete in place, once the beams were gone. This is far from an ideal solution as there are 3 small round slabs of concrete in the ground. It was quicker and didn’t require any digging so they avoided any risk of hitting a utility or gas line.
Recycling the Metal Awning Material.
Since writing this post, we’ve had many people ask us if the materials in their awning was worth recycling. Some people even hoped that they could offset the labor costs by selling the steel and aluminum for scrap. The unfortunate truth is that it’s not remotely close. A local recycling company will pay $0.23 per pound of sheet aluminum, and $0.10 per pound for steel.
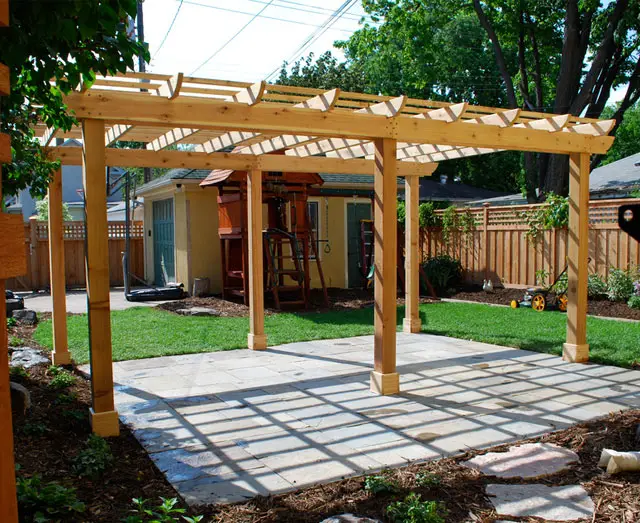
The easiest way to demonstrate this is with an example. Here’s a 10′ x 12′ freestanding galvanized steel gazebo. The retail price for this new is well over $1000, and it’s likely to contain far more metal than any standard residential awning as it ways just under 20% of a ton. The scrap metal price for this awning would be $38.70.
With that in mind, you can often get someone to pickup or haul away the awning for free. You’re not going to earn any money from it, but you can avoid the expense of hiring someone to bring a truck up to haul it to the dump. In many areas, there are people on craigslist that will pickup metal to take it to the scappers. They keep all the profit from recycling the metal, but it does stop the items from ending up in a landfill.
Recycling the Awning Wood Frame
First, you should never ever consider burning painted wood. The stain or paint on the wood can contain chemicals, and the fumes from burning the paint can be toxic. Even if you are feeling fine that doesn’t that your pets will be fine.
If you find yourself with a lot of painted wood, you can either use it for other DIY projects or shred it in a wood chipper for mulch for your yard or flower garden area. We don’t don’t suggest putting it on a vegetable garden on the off chance some of the chemicals get in the ground water and may hurt the food.
Video Removing a Metal Awning
We did our project several years before I began writing about DIY projects, and we didn’t capture any pictures or videos of the project.
I did find a great video on YouTube of someone else taking down their metal awning. This can serve as a great example if you want to watch someone else do the project before you decide whether to take it on or not.
How Not to removal a metal awning
While searching for a good video explaining the steps, I found this one. I have seen this approach taken on some HGTV shows and several other videos.
After watching this video, I wanted to share some of the big concerns. I do appreciate that he stats this can be dangerous. He is also a trained professional so he knew it would be safe to pull the porch cover down without causing further damage to the home.
If you are an average home DIYer like most of our readers, we absolutely do not recommend tearing down an awning with sledge hammer.
Conclusion
In closing, I hope you’ve enjoyed our post about removing a metal awning. There are a lot of HGTV shows where the people either knock down the shade with a sledge hammer or pull the poles out with a truck.
While scenes like this can make entertaining TV, they can also be quite dangerous for you and your home. We heard a story of one person that got inspired by a TV show, and thought they’d save money by doing their own demolition work.
Ultimately, he knocked down a load bearing wall in the house which led to more than $100k worth of damage. As I wrote earlier, we are not contractors or architects. We are just homeowners who like doing DIY projects. If you’re going to take on any major project that you feel may be over your head, please consult a licensed professional in your area.
An honest company will be able to determine the risk of your individual demolition. Finally, whether you do the work yourself or hire it out, we’d love to hear your story and see some pictures. Feel free to contact us or send us a DM on twitter.