Last Updated:July 12, 2026
How to Enclose a Patio Porch Deck with Screens
Enclosing a porch with screens is a great way to add value, functionality, and enjoyment to your home. Not only does it provide an extra living space for relaxing, entertaining, or simply enjoying the outdoors, but it also offers protection from insects, bugs, and other pests, as well as some shelter from the sun, rain, and wind. If you’re considering enclosing your porch with screens, there are a few things to keep in mind before you start the project. We’ve created a complete guide to screened rooms if you’re not sure what they are.
First, it’s important to choose the right type of screens for your needs and budget. Fiberglass, aluminum, and metal are all popular options, each with its pros and cons. You’ll also want to consider the size and layout of your porch, as well as any additional features you may want to include, such as a roof or ceiling fan.
Finally, it’s important to have all the necessary materials and tools on hand before you begin. With a little planning and preparation, enclosing your porch with screens can be a fun and rewarding DIY project that will provide years of enjoyment for you and your family.
Things to consider before starting the project
Before starting the project of enclosing your porch with screens, there are a few important things to consider. You’ll need to decide on the type of screens you want to use. Fiberglass, aluminum, and metal are all popular options, each with its benefits and drawbacks.Fiberglass screens are strong and durable, but may not be as effective at blocking out the sun’s glare. Aluminum screens are lightweight and easy to work with, but may not be as sturdy as other options. Metal screens are the strongest and most durable, but may be more expensive and difficult to install.
It’s important to weigh the pros and cons of each type of screen and choose the one that best fits your needs and budget.
You’ll also want to consider the size and layout of your porch, as well as any additional features you may want to include, such as a roof or ceiling fan. It’s a good idea to make a rough sketch or drawing of your porch and the proposed screen enclosure to help visualize the project and make sure everything fits properly.
Additionally, make sure you have all the necessary materials and tools on hand before you begin, including the screens, a wooden frame, screws or nails, a measuring tape, and a drill. It’s also a good idea to enlist the help of a friend or family member to make the project go more smoothly. By considering these factors before starting the project, you can ensure that enclosing your porch with screens is a successful and enjoyable experience.
Materials and Tools
When it comes to enclosing your porch with screens, you must have the right materials, tools, and equipment on hand to ensure a successful and hassle-free project. First and foremost, you’ll need to choose the type of screens you want to use.One piece of equipment that we recommend for any DIY project is some good safety glasses and some good work gloves. We consider these must-have on every project even if we don’t call them out in each of your posts.
Fiberglass, aluminum, and metal are all popular options, each with its own pros and cons. Fiberglass screens are strong and durable, but may not be as effective at blocking out the sun’s glare.
Aluminum screens are lightweight and easy to work with, but may not be as sturdy as other options.
Metal screens are the strongest and most durable, but may be more expensive and difficult to install. It’s important to weigh the pros and cons of each type of screen and choose the one that best fits your needs and budget.
In addition to the screens, you’ll need a wooden frame to hold the screens in place. The size and type of wood you choose will depend on the size of your porch and the weight of the screens. It’s a good idea to use pressure-treated lumber, which is treated with a chemical to help protect against rot and insects. You’ll also need screws or nails to hold the frame together, as well as a measuring tape to ensure that everything is properly sized and aligned.
A drill will also come in handy for attaching the frame to the porch. Finally, you may want to have a few additional tools on hand, such as a hammer, level, and saw, to help with any unexpected challenges or adjustments that may come up during the project. By having all the necessary materials and tools on hand before you start, you can ensure that enclosing your porch with screens is a smooth and successful process.
Build the Frame
Building the frame for your screen porch is an important step in the process, as it provides the structure and support for the screens. The first thing you’ll need to do is cut the wood to the appropriate size for your porch. Measure the length and width of the porch and cut the wood accordingly, making sure to leave a little extra material for tension. Once the wood is cut, it’s time to assemble the frame. This can be done using screws or nails, depending on your preference and the size of the frame. Make sure to use enough screws or nails to ensure that the frame is sturdy and secure.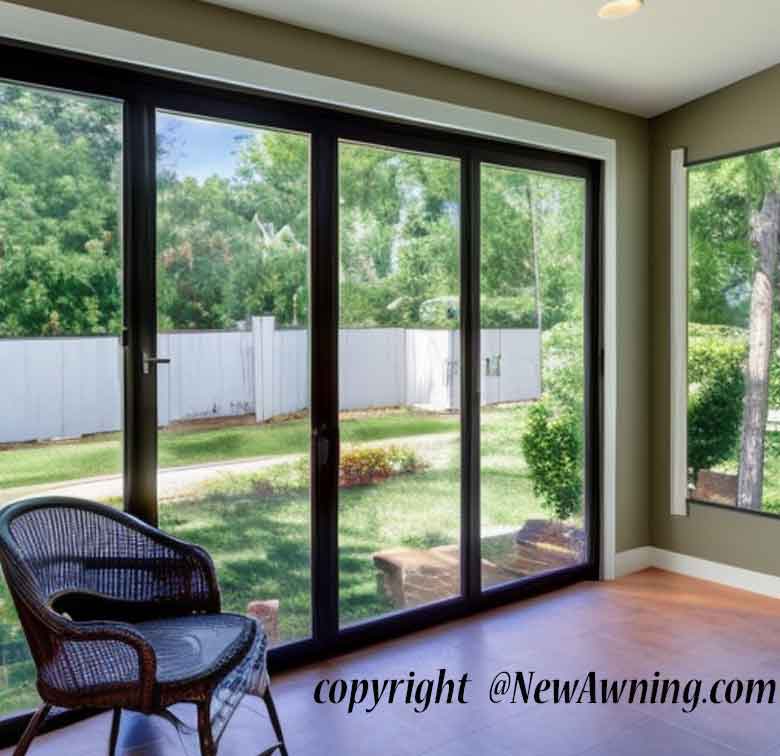 As you assemble the frame, it’s important to make sure that it is square and level. Use a level to check the horizontal beams and a plumb bob or carpenter’s square to check the vertical beams. If the frame is not square or level, it will be difficult to install the screens and they may not fit properly. You may need to make adjustments as you go along to ensure that the frame is properly aligned.
Once the frame is built, it’s time to attach it to the porch. Use screws or bolts to secure the frame to the porch, making sure to use enough to hold the weight of the screens. It’s a good idea to have a helper hold the frame in place while you attach it, as it can be unwieldy and difficult to maneuver on your own. With the frame in place, you’re ready to move on to the next step: installing the screens.
Install the Screens
Installing the screens is the next step in enclosing your porch with screens. To begin, start at the bottom and work your way up. This will make it easier to make any necessary adjustments as you go along and ensure that the screens are evenly spaced and properly aligned.There are several different methods for attaching the screens to the frame, including clips, staples, or a combination of both. Clips are small plastic or metal devices that hold the screens in place without piercing them, while staples are small metal pins that are used to fasten the screens to the frame. Some people prefer clips because they are easier to remove and adjust, while others prefer staples because they provide a more secure hold. Ultimately, the choice of clips or staples will depend on your personal preference and the type of screens you are using.
As you install the screens, make sure to pull them taut and free of wrinkles. This will help to ensure that the screens are smooth and even, and will also help to prevent sagging or loosening over time. You may need to use a tool such as a screen-stretching tool or a rubber mallet to help get the screens into place.
Once all the screens are installed, it’s time to add any finishing touches. This may include installing a door or zipper entrance, adding any additional features such as a roof or ceiling fan, and decorating the porch with furniture and other elements. With the screens in place, you can enjoy your new screen porch and all the benefits it has to offer.
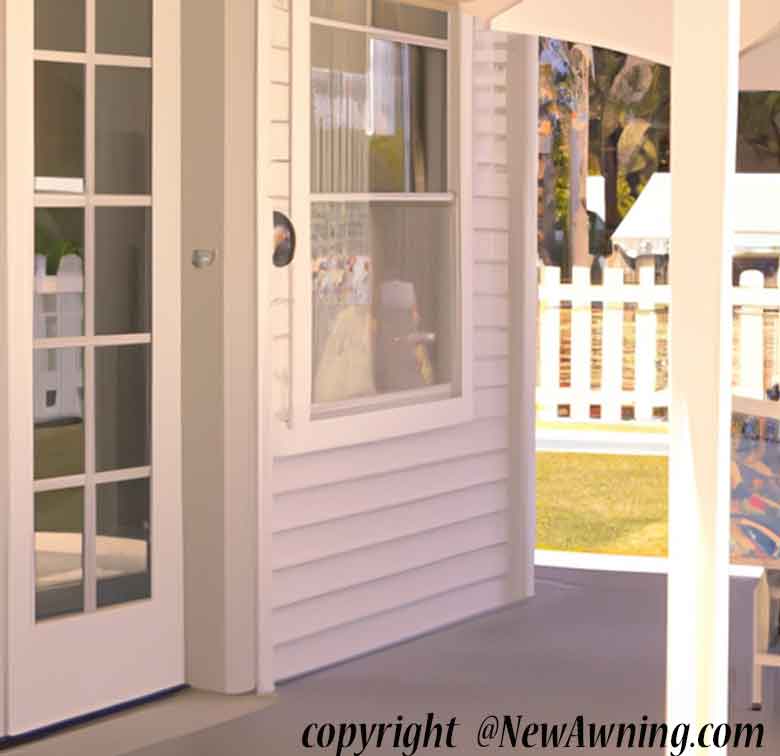
Now that the screens are installed and your porch is fully enclosed, it’s time to add the finishing touches and make it a comfortable and inviting space to enjoy. One option is to install a door or zipper entrance to the porch. This will allow you to easily enter and exit the space, and can also provide an additional layer of protection from the elements. There are several different types of doors and entrances to choose from, including hinged doors, sliding doors, and zippered entrances, each with its pros and cons. It’s important to choose a door or entrance that is the right size and style for your porch, and that is easy to open and close.
Add the Finishing Touches
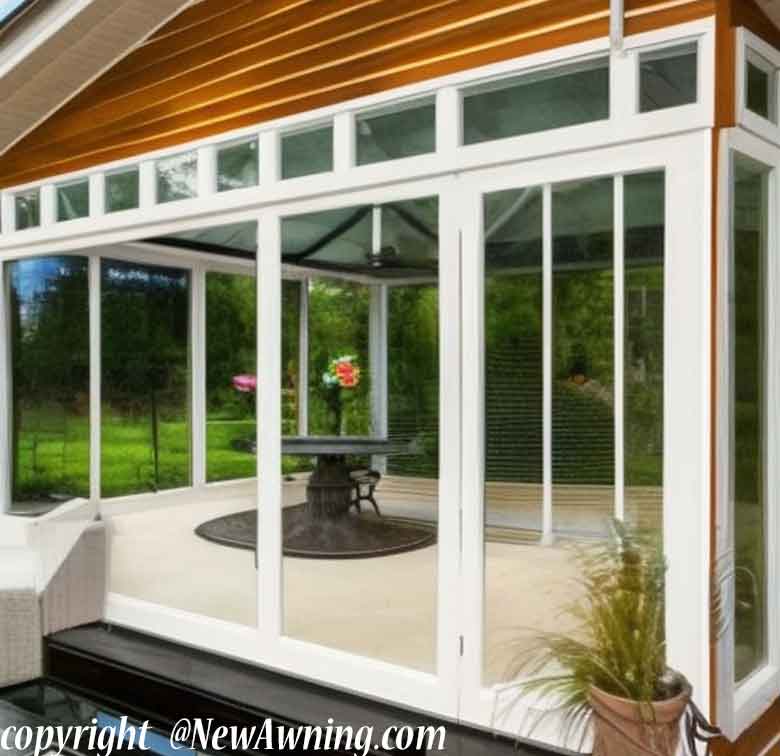
Another feature you may want to consider adding to your porch is a roof or canopy. This will provide additional protection from the sun, rain, and wind, and can make the space more comfortable and enjoyable on days when the weather is less than ideal. There are several different types of roofs and canopies to choose from, including solid roofs, lattice roofs, and fabric canopies, each with its style and benefits. It’s important to choose a roof or canopy that is the right size and style for your porch, and that is sturdy and durable.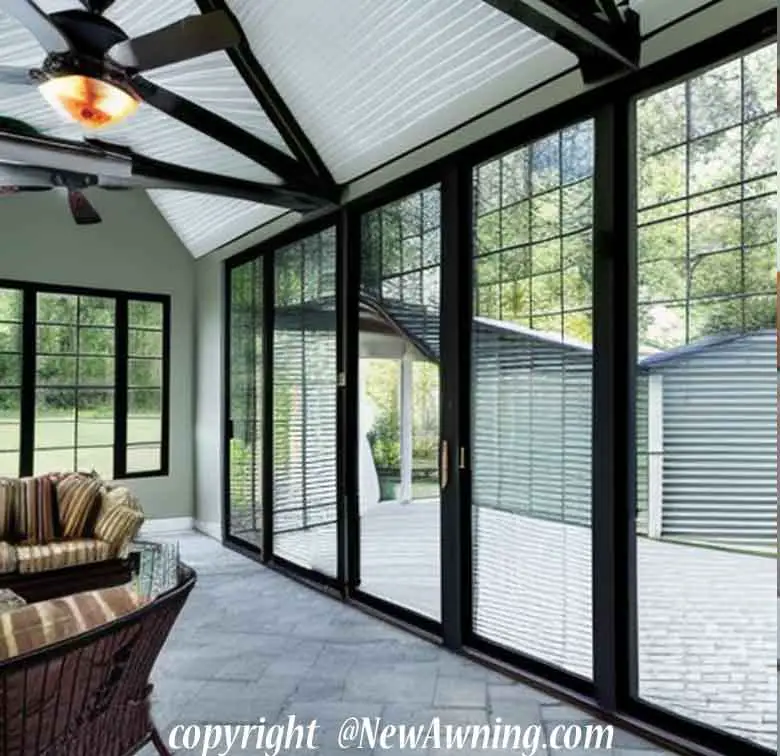 A ceiling fan can also be a useful addition to your screened porch, especially on hot summer days. A ceiling fan can help to circulate the air and keep the space comfortable and cool. There are several different types of ceiling fans to choose from, including traditional ceiling fans, outdoor ceiling fans, and ceiling fans with lights, each with its features and benefits. It’s important to choose a ceiling fan that is the right size and style for your porch, and that is energy efficient and easy to operate.
Finally, don’t forget to decorate your porch with comfortable furniture and other elements to make it feel warm and welcoming. This may include chairs, sofas, tables, throw pillows, blankets, and plants. You can use your creativity and personal style to make the space your own, and create a serene and peaceful retreat in your backyard. With the finishing touches in place, your screened porch will be ready for you to sit back, relax, and enjoy all that it has to offer.
Conclusion
Enclosing your porch with screens is a fantastic way to add value, functionality, and enjoyment to your home. Not only does it provide an extra living space for relaxing, entertaining, or simply enjoying the outdoors, it also offers protection from insects, bugs, and other pests, as well as some shelter from the sun, rain, and wind. Whether you’re an experienced DIYer or a beginner, enclosing a porch with screens is a project that is well within the reach of most homeowners. By following the steps outlined in this blog post, you can successfully enclose your porch with screens and create a comfortable and inviting space to enjoy all year round.To begin, it’s important to choose the right type of screens for your needs and budget. Fiberglass, aluminum, and metal are all popular options, each with its own pros and cons. Next, it’s time to build the frame for the screens. This can be done using a wooden frame and screws or nails, and it’s important to make sure the frame is square and level to ensure the screens fit properly. Once the frame is built, it’s time to install the screens, using clips, staples, or a combination of both. Finally, don’t forget to add the finishing touches to your screened porch, including a door or zipper entrance, a roof or canopy, a ceiling fan, comfortable furniture, and other elements.
With a little planning and preparation, enclosing your porch with screens is a fun and rewarding DIY project that will provide years of enjoyment for you and your family. So why wait? Start planning your screen porch project today, and experience all the benefits it has to offer.